Taking a closer look
Slot cars, much like real racing cars, are designed to be maintained and set-up ready for racing. In this post we strip the Slot.it Opel Calibra back to its chassis in order to take a closer look at a slot car.
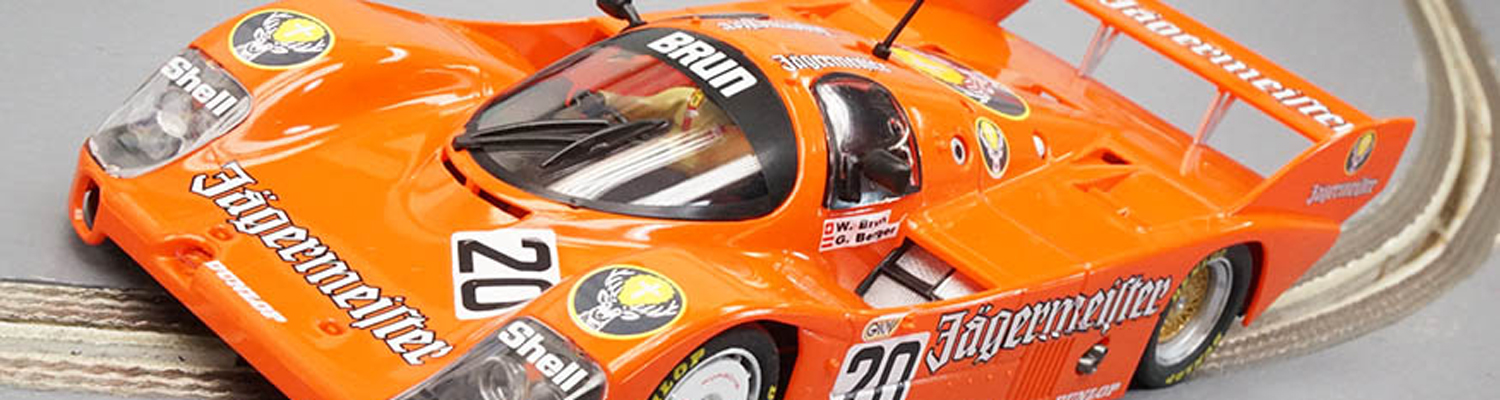
Out of the box
Raced in the 1995 DTM and International Touring Car Championship the Opel Calibra is a fine example of a 1/32 scale touring car produced by Slot.it – based in Italy. Out of the box the car notably comes with a s-can 21,000 RPM motor, 28 teeth gear and rear 15.8 x 8.2mm diameter aluminium wheels.


Stripping the car back
The first rule of slot car racing is… remove the magnet. No category at the London Scalextric Club permits the use of magnets as this ensures unpredictable racing. To do this you’ll want to loosen the two screws holding the body and chassis together. Once the inside of the car is exposed, you can access the magnet as well as the other parts. Next, you’ll want to remove the rear aluminium wheels, loosing the black grub screws, along with the gear and rear axle.

Loosen the wires connecting the guide and motor – this is in preparation to removing the entire grey motor pod. You’ll notice at the other end of the wires a circuit board – this acts as a electrical noise suppressor filtering the effect of the motor on any digital chip fitted. Turning the car over will give you access to the reaming four screws and washers – make sure to keep all parts for later as you remove the pod along with the motor.

Finally, you’ll want to remove the copper braids, guide and front plastic wheels. No doubt the guide will be tight – but pull downwards and be mindful not to apply too much pressure to the support arm. The front plastic wheels simply pull outwards and be careful once again not to loose the plastic spacers as you remove the front axle.
Chassis
When the car is stripped back to the chassis you can start to relate where the screw holes are in relation to the guide, front axle, motor pod, gear and rear axle as you move from left to right.

You can check to see if the car’s chassis is flat by placing it on a metal plate. If its not flat you may consider gently heating it and pressing it back into a neutral position.
Did you know?
Building the ultimate car
Right then, onto the exciting part, putting it all back together again – perhaps with a few upgrades? Its probably best at this stage to consider adding suspension, a more powerful motor, offset parts, a gear ratio that works with the circuit and trued tyres suitable for the track surface.

Motor
The heart of the car – you’ll need to select a motor factoring in the overall slot car weight and race category. Motors up to 50,000 RPM are available on the market but these powerful motors are often only suitable for larger scale or heavier metal slot cars. If you’re not content with the s-can 21,000 RPM motor supplied – you may want to upgrade it to a Slot.it Flat 6 or Boxer motor for example.
For the Touring Car category at the London Scalextric Club, you’ll probably find the inline motor alignment paired with the higher specification Boxer 21,500 RPM motor just about right. However, before the new motor can be placed in the motor pod you’ll need to select a pinion. Using a 10 teeth pinion and 25 teeth gear will give you a ratio of 2.50 – this works well with are our circuit bearing in mind the wheel diameter.
Having the parts to hand, place the motor in a press – loading the pinion. Once this is located into position remove the motor ready for soldering. Having cut two wires to size, solder them onto the motor – being careful not to bend the tabs too much as they are not very robust. The motor is then ready to be fitted into the motor pod with the spacer provided.


Much like the motor, you may want to change the motor pod. The grey 0.5mm offset motor pod can be lowered further, to get the motor closer to the track surface, by introducing a clear 1.0mm offset pod. In any case, mount the motor with the red dot in line with the left braid of the guide – this will ensure the car travels in the right direction on track. Last task is then to screw and support the motor into the pod – you’ll notice two holes line up in the pod with the motor can – insert the screws to stop the motor rotating. Finally, slot in the stiffener between the rear axle and the centre of the motor.
You may want to run your motor in before completing a flying lap – just connect it up to a 12V power supply for a few minutes. This will help shape the brushes in the motor to ensure better rotation.
Did you know?
Axles and wheels
Next, you’ll want to focus on the front and rear of the car. As track surfaces vary and circuits feature elevation change you may want to introduce suspension into the car. Suspension enables the rear axle/motor pod to move independently from the chassis. Locate the springs and suspension kit within the rear two holes of the motor pod – you can adjust the amount of vertical movement by either altering the screw or plastic stopper depth.
Once in position, locate the final two screws and washers onto the front of the pod – the motor and pod are now aligned with the chassis and you can move onto the rear axle. Insert the bearings into the pod and slide the axle through – don’t forget the 25 teeth gear. You’ll notice that as the 1.0mm offset pod has been selected you’ll need the offset gear to achieve the best mesh – this is in effect the relationship between the motor shaft and rear axle.
Moving onto the front axle you’ll need to position the lower and upper grub screws before you can slide the axle through. Once this is set, slide in the front axle and move onto the wheels. You’ll notice a difference between the front plastic and rear aluminium wheels – you may be tempted to also fit aluminium wheels to the front but this is not necessary and the additional weight will only slow the car. Once in position, push fit the front wheels and screw in the rear wheels – be careful not to exceed the dimension of the body/wheel arch.


Finally, you can turn your attention to the front guide and braids. Once the guide is screwed into the support arm, feed the braids into the slots – you may want to use a competition braid that is softer as this will keep the front of the car down, unlike the stiffer copper braids. All that’s left is to locate the motor wires into the guide/braid – when doing so allow for rotation to the extreme right and left as this will improve handling. Remember, don’t leave the braids too long – should they touch this may lead to short circuiting.

Set-up
Now all of the main parts have been fitted to the chassis you’ll need to focus on a few set-up aspects before you can hit the track and race competitively.
Tyres
When it comes to tyre selection at the London Scalextric Club there’s only one compound that’s permitted – urethane. When fitting a set of tyres to the rear 15.8 x 8.2mm diameter aluminium wheels you’ll notice they slightly overhang the rim. If you have a tyre truer you may consider trimming or filling the tyres to size – as well as truing the tyre surface. Doing so ensures the contact points of the car are maximised and that the car remains flat/level to the track surface.


Taking care
With all those moving parts you’ll want to make sure everything is running smoothly before completing a flying lap. Apply oil to the front axle where it touches the grub screws, grease the gear where it meets the pinion and loosen the motor pod screws to allow some movement. You may need to oil the motor shaft too – but not too much. Lastly, adjust the front wheel height to lift them just off the track surface – this task is made easier with the use of a set-up plate.


Body and interior
Now you’ve built your car and set it up you’ll need to introduce the chassis back with the body. At this point you may consider changing the interior – this will be relevant if you’ve increased the motor depth from a s-can to a Boxer. Interiors can be heavy due to the amount of detail provided by the driver and dashboard. You can change this to a lexan cockpit – which will reduce weight and increase room in and around the motor pod.

Ready to race
Your slot car is now ready to race and it’s lights out! Go, Go, Go! Why not head to the starting line and aspire to make the podium or even better still… win?


Categories
